Getting your wedding flowers successfully pressed is honestly the part that makes most people nervous. Once they’re dry, though, you get to do the fun part: figuring out what you actually want to make with them.
The first time you spread everything out, it can be a little overwhelming. A bouquet that used to be one arrangement is now a pile of rose petals, hydrangea florets, little pieces of baby’s breath, leaves, stems, and greenery. Some things will have changed color. Some flowers will have pressed better than others. And if you took apart your roses or peonies before pressing them, they obviously aren’t going to look like complete flowers anymore.
That’s all normal. You’re not trying to put the bouquet back together exactly the way the florist made it. You’re using pieces of it to make something new that still feels like your bouquet.
Start by Seeing What You Actually Have
I like to spread everything out before I even bring the frame over. Once flowers are completely dry, you can finally see what you have to work with and which pieces you actually like.
There are almost always flowers that surprise you. Something you thought would be beautiful might have browned more than expected, while a tiny piece of filler greenery you barely noticed in the bouquet ends up looking perfect. I wouldn’t decide ahead of time that every type of flower has to make it into the finished frame.
Pull out the pieces you immediately love. I usually look for a few larger flowers or petals that can carry the arrangement, some greenery, a few medium-size flowers, and then the tiny pieces like baby’s breath or individual hydrangea florets that are useful later.
If there’s something you know has to be included for sentimental reasons, set that aside now. It doesn’t necessarily have to be the prettiest flower in the pile.
Keep a Photo of Your Bouquet Nearby
This is why I always recommend photographing the bouquet before you take it apart to press it.
I’ll usually have one of those photos open while I’m arranging the dried flowers, but I’m not trying to copy it exactly. A fresh bouquet is three-dimensional. Flowers overlap each other, some sit farther forward, and a florist can tuck stems behind other flowers in ways that simply don’t translate to a flat piece of glass.
What I’m looking at instead is the general balance. Maybe there was a large blush rose toward one side with greenery extending above it. Maybe the hydrangea created a soft area underneath the main flowers. Maybe the bouquet was very loose and asymmetrical instead of perfectly centered.
Those are the things I’d carry into the pressed arrangement.
Pick Your Frame Before You Start Arranging
I would definitely have the actual frame in front of you before you start laying anything out. It’s surprisingly easy to create an arrangement on the table that you love and then realize it doesn’t remotely fit inside the frame.
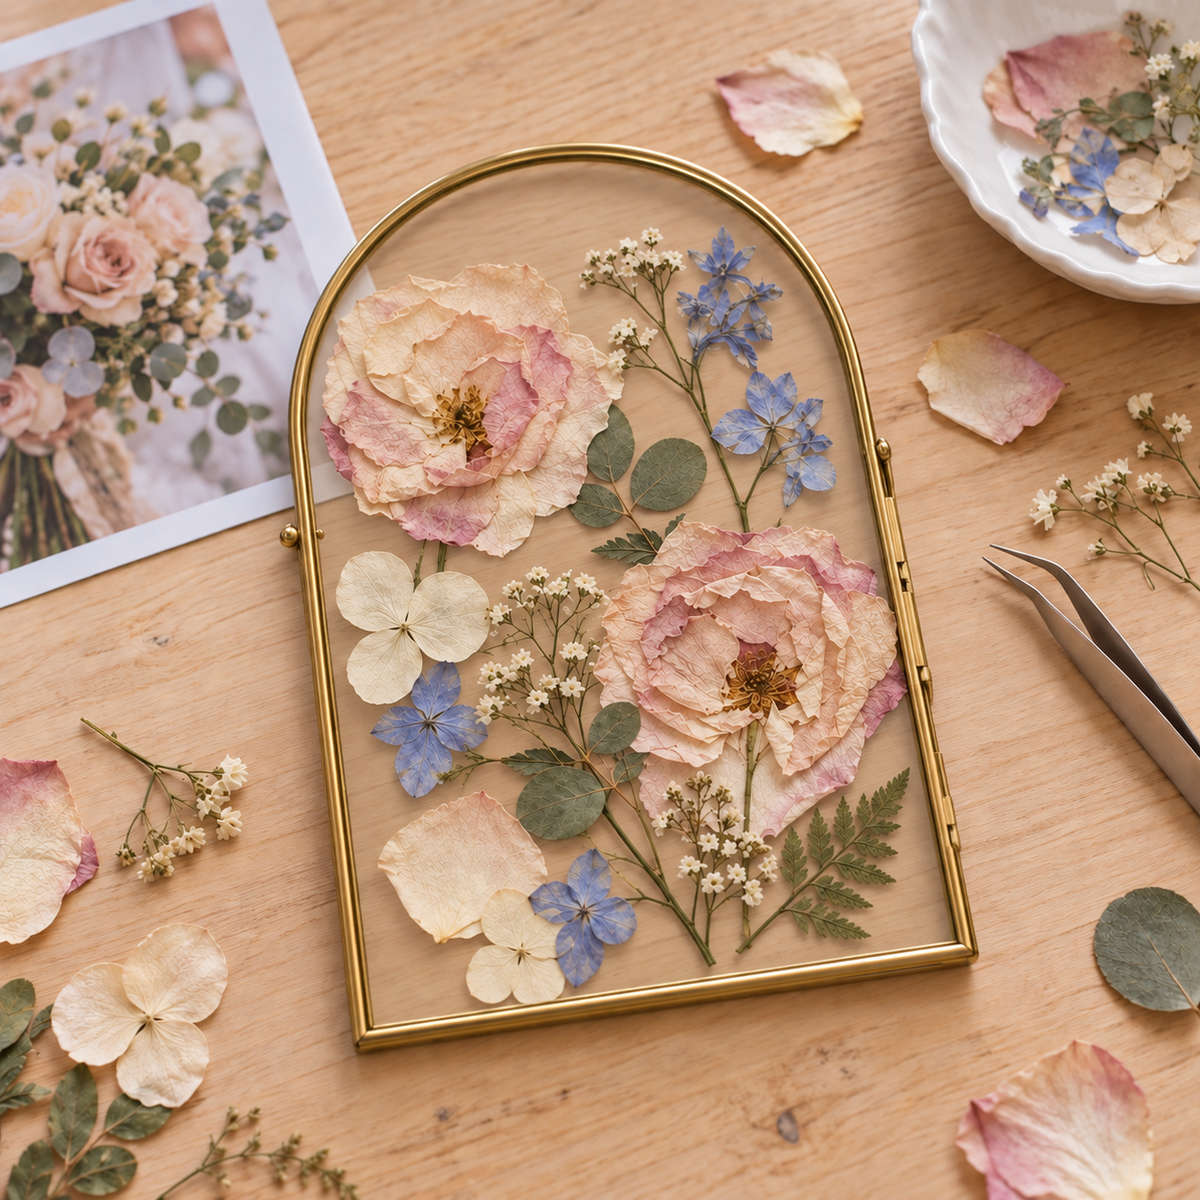
An arched frame works really well for wedding flowers because you naturally have more height in the center and can let stems and greenery work upward into the arch. For a smaller frame, I’d be pretty selective. Trying to represent an entire large bridal bouquet in a small frame usually just makes everything feel crowded.
I actually like leaving a decent amount of visible glass around the flowers. The arrangement doesn’t need to touch every edge of the frame to feel finished. A few of the glass frames I like to use for pressed flowers are included with my pressing supplies here, if you want something made for this kind of project.
I Usually Start With the Biggest Pieces
Once I know the size I’m working with, I start placing the larger flowers and petals first. They take up the most visual space, so it’s much easier to build everything else around them than to arrange all the little flowers first and then discover there’s nowhere for the rose to go.
If I’ve pressed a rose in pieces, I might loosely rebuild one flower using a few of the petals. I’m not trying to recreate the exact tight spiral of the fresh rose. Real pressed rose petals are flat, a little wrinkled, and usually somewhat changed in color, and I think they look much better when you let them look that way.
Sometimes I don’t rebuild the rose at all. A couple of individual petals mixed into the arrangement can be enough, especially if the petals developed pretty darker edges as they dried.
Peony petals work the same way. A few large petals grouped together can give you the feeling of the original flower without trying to reconstruct a giant peony inside the frame.
Then I Add the Greenery
Greenery is usually what makes the arrangement start looking like an actual composition instead of flowers sitting next to each other.
A stem of eucalyptus can lead your eye through the piece. A fern can give you height. A small leafy branch can connect two flowers that otherwise feel disconnected.
I almost never use all of the greenery I pressed. Fresh wedding bouquets tend to have a lot of it because greenery creates volume, but you don’t need nearly as much once everything is flat. I’d rather choose a few pieces with nice shapes and use them intentionally.
And you can absolutely trim dried greenery. If you only need the top three leaves of a eucalyptus stem, there’s no reason to put the entire thing in the frame.
Save the Tiny Flowers for the End
Once the larger flowers and greenery are in place, then I start playing with the hydrangea florets, baby’s breath, delphinium, and whatever other little flowers I saved.
These are really useful for fixing awkward areas. Sometimes there’s a space between two bigger flowers that feels too empty, and one tiny sprig of baby’s breath is all it needs.
This is also where it’s very easy to overdo it.
You don’t have to fill every little hole between the flowers. I think pressed arrangements actually look better when they have some breathing room. When you keep adding tiny filler flowers just because there’s still glass showing, you can lose all of the individual shapes that made the flowers pretty in the first place.
I’ll usually get everything almost finished, then step away from it for a minute before deciding whether it actually needs anything else.
Take a Picture When You Like the Layout
This is such a simple thing, but do it before you start moving flowers.
Once I have an arrangement I like, I take a photo straight down with my phone. If there are rose petals layered a certain way or a few small flowers tucked into a specific spot, I’ll take a closer picture of those too.
You will think you remember where everything goes.
Then you’ll pick up four pieces and suddenly have no idea where any of them were.
Having the picture makes assembling the final frame so much easier because you’re not trying to recreate the arrangement from memory.
Be Careful Handling Fully Pressed Flowers
Once flowers have been pressed for several weeks, some of them are basically paper. Hydrangea florets and rose petals can be surprisingly sturdy, while a tiny stem of baby’s breath can snap with almost no effort.
I use tweezers quite a bit when I’m arranging because they let me grab smaller flowers without putting my fingers all over everything. If I’m moving a larger petal, I try to pick it up closer to the base instead of grabbing the thin outside edge.
This is also why it’s worth waiting until your flowers are completely dry before you frame them. If something still feels cool or soft anywhere, I’d put it back in the press rather than trying to rush it into the finished piece.
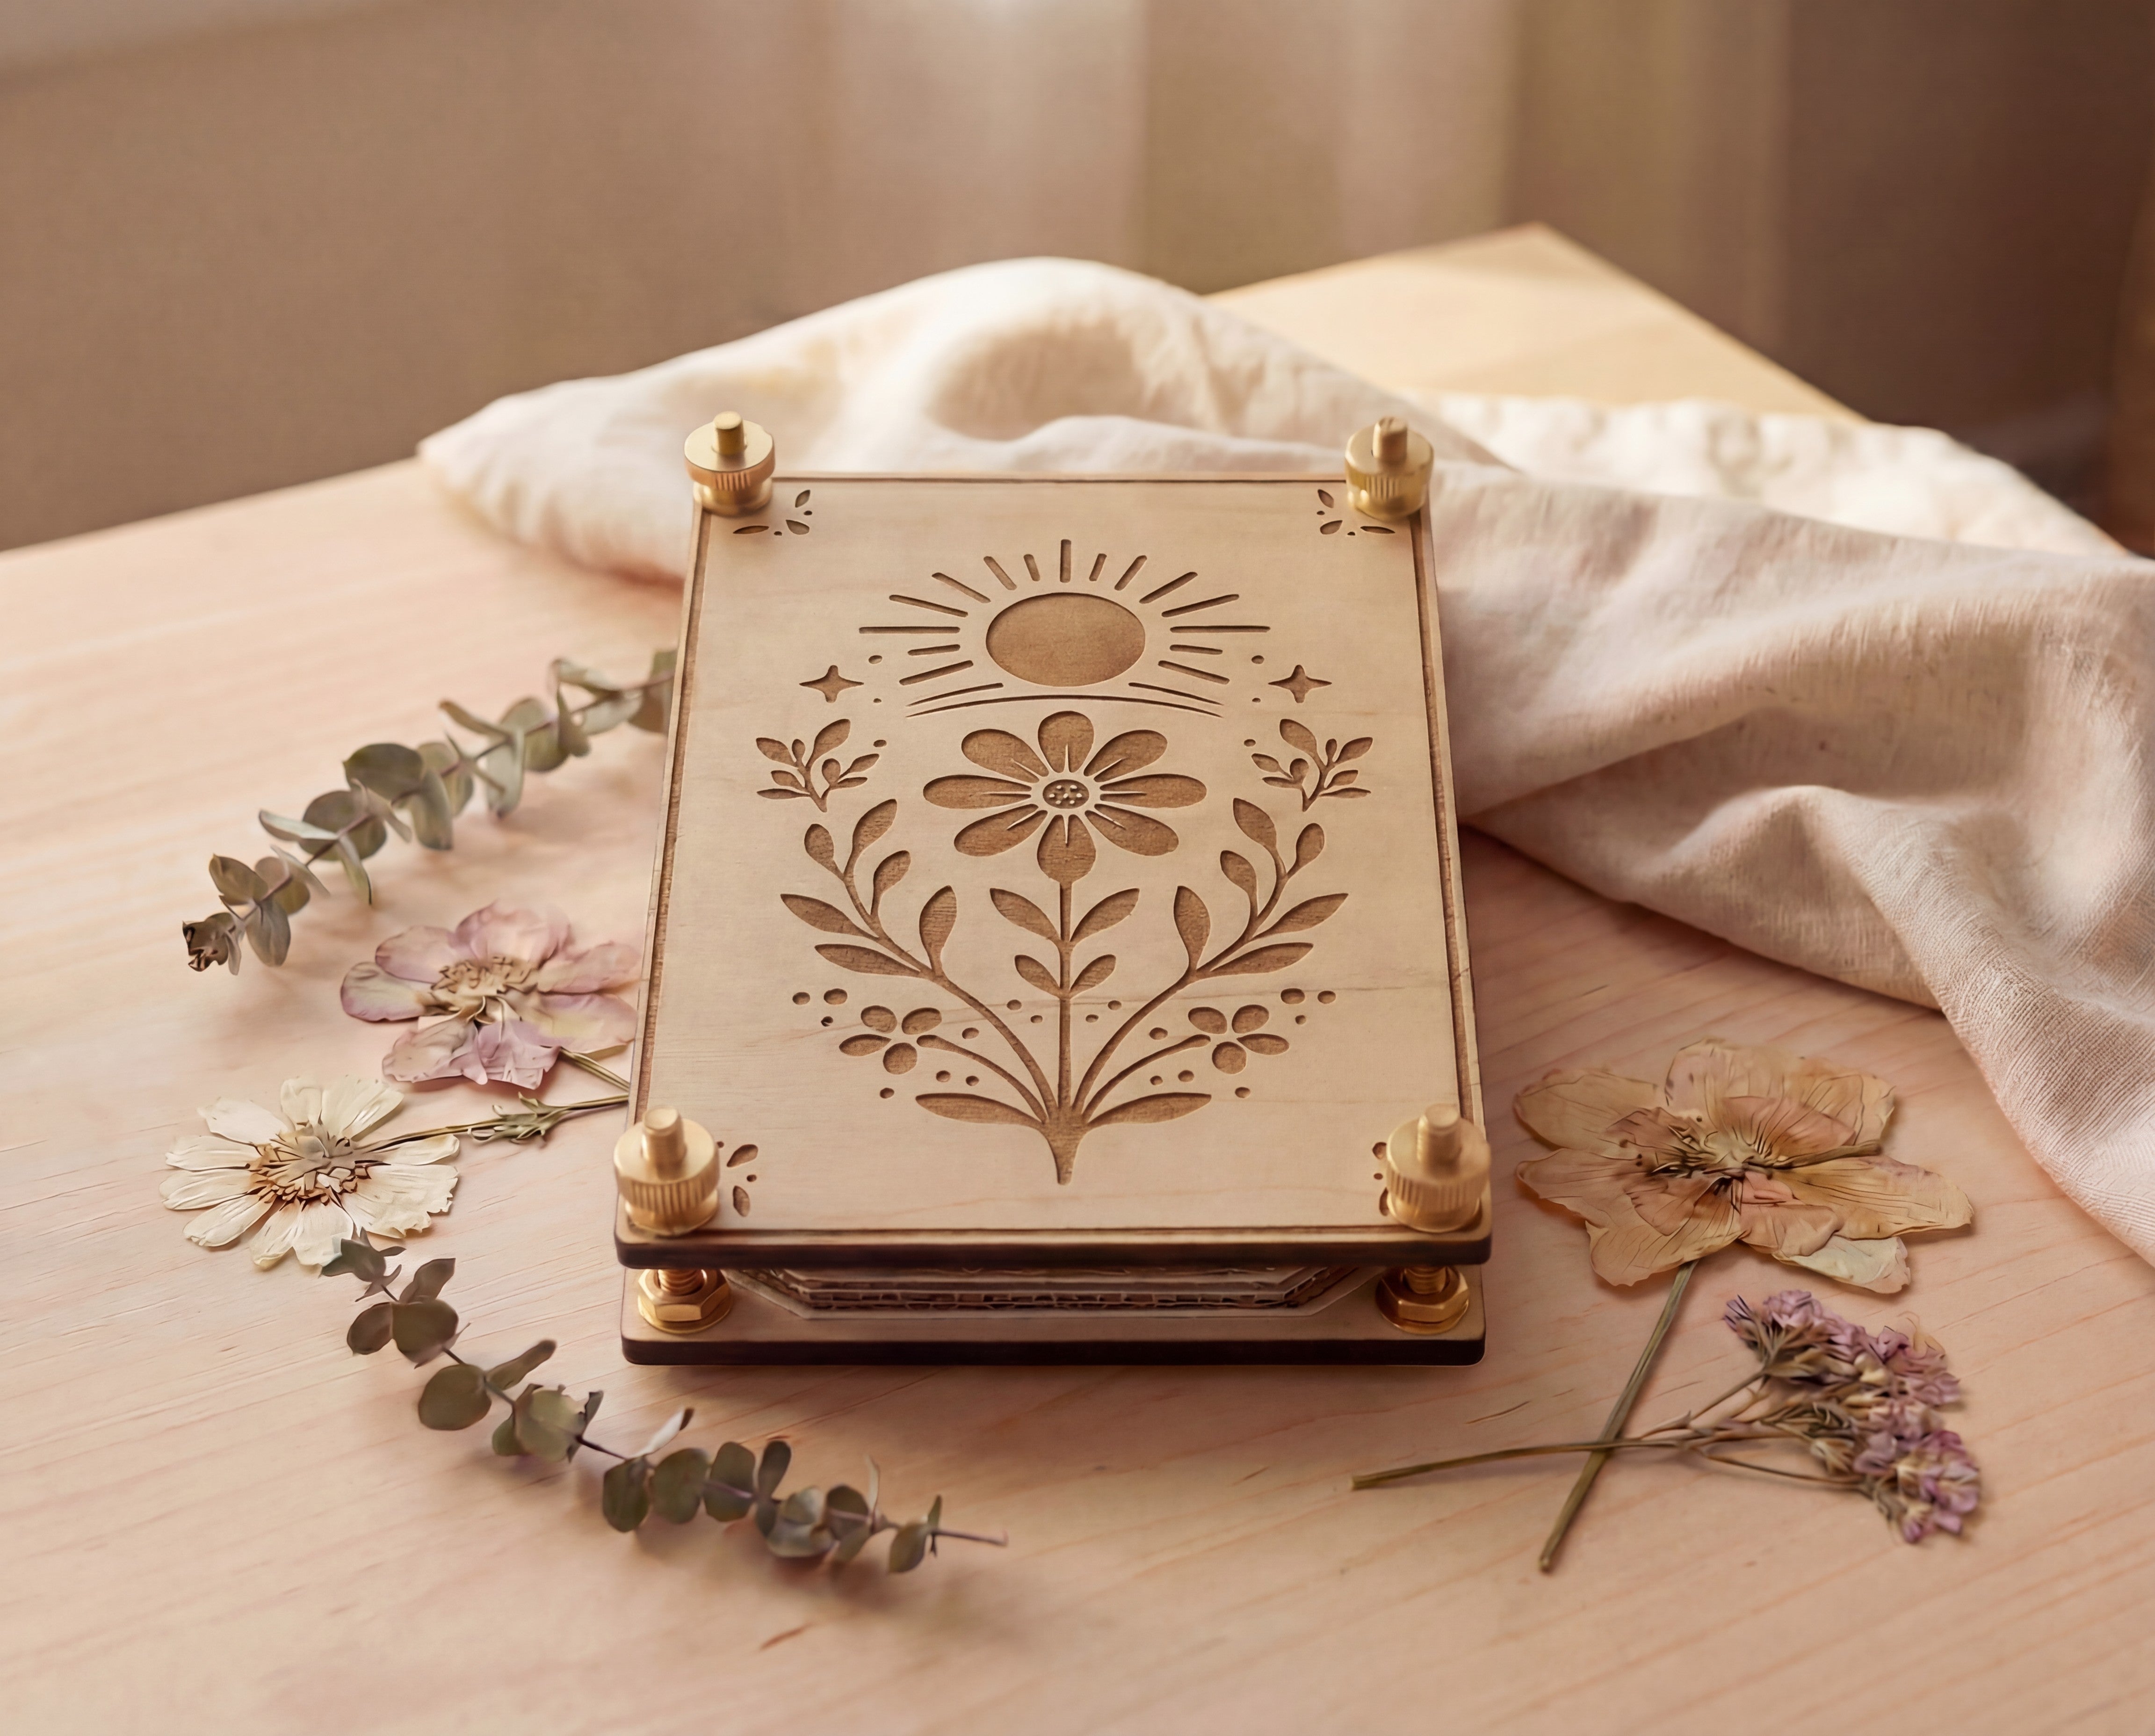
If you’re still at that stage, these are the reusable maple flower presses I make and use for wedding flowers. They have removable blotting and cardboard layers, so you can spread the different parts of a bouquet out instead of stacking everything together.
Do You Need to Glue Pressed Flowers Into a Glass Frame?
Not necessarily.
With a double-glass frame, very flat flowers can sometimes stay in place simply from the pressure of the glass once the frame is closed. A simple arrangement may not need much help at all.
If I have something layered, like several rose petals together, or a stem that keeps shifting, then a tiny amount of adhesive can make things easier. I really do mean tiny. Dried petals are thin enough that too much glue can soak through them or leave a spot you can see from the front.
This is another reason I wouldn’t start gluing things while you’re still figuring out the arrangement. Get everything where you want it first, take your photo, and only then start thinking about what actually needs to be secured.
Don’t Expect It to Look Exactly Like the Fresh Bouquet
The finished frame is going to look different from the bouquet you carried, even if you use flowers from every part of it.
The colors will probably be softer. White flowers often become cream. Blush roses can dry a little dustier or develop darker edges. Some greenery becomes more muted. The flowers themselves are completely flat now, so the whole arrangement naturally has a more botanical feel than the fresh bouquet did.
I actually prefer that.
Trying to make pressed flowers look like they’re still fresh usually ends up looking less natural than just letting them be pressed flowers. The wrinkles in a rose petal, the slightly uneven edge of a hydrangea floret, and the little color changes are part of what makes the finished piece interesting.
You Probably Pressed More Flowers Than You Need
If you did a good job preserving the bouquet, there’s a pretty good chance you’ll have a lot left over after the frame is finished.
Keep them.
You can make another smaller frame, use a few flowers in a scrapbook, save petals for an anniversary card, or make little keepsakes for parents or someone else from the wedding. You can also just store them flat between clean paper and decide what to do with them later.
I definitely wouldn’t cram extra flowers into the main frame just because you feel bad leaving them out. A cleaner arrangement using half the flowers is usually going to look better than trying to prove that you preserved every stem in the bouquet.
Keep the Finished Frame Away From Direct Sun
Pressed flowers will naturally change with time, but sunlight speeds that process up quite a bit.
I wouldn’t hang a wedding flower frame somewhere that gets strong direct sun for hours every day. A wall with indirect light is a much better spot if you want the flowers to hold onto their color as long as possible.
UV-protective glass or acrylic can help too, although nothing is going to keep a natural flower exactly the same color forever. That doesn’t bother me much. I think a pressed bouquet aging a little over the years is pretty different from it being ruined.
It’s still the bouquet.
Your Frame Doesn’t Have to Be Perfect
I think people put a lot of pressure on themselves when they’re working with wedding flowers because it feels like there’s no room to mess up. You only had one bouquet, and now you’re handling these little dried pieces of it with tweezers.
But the finished frame doesn’t have to look like it came out of a preservation studio to be worth keeping.
If there’s a rose petal with a little brown edge that you still love, use it. If one stem sits slightly crooked but reminds you more of the original bouquet that way, leave it. If there’s a random tiny flower you absolutely want in there because of who gave it to you, it doesn’t matter whether it makes the composition technically perfect.
That’s the whole reason to preserve your own flowers in the first place. You know which pieces actually mean something.
Making Your Own Pressed Wedding Flower Frame
If you’ve already preserved your bouquet, give yourself some time for this part. Spread everything out somewhere you can leave it for a while, have the frame next to you, and move things around until you start seeing an arrangement you like.
I wouldn’t try to finish it in ten minutes. Sometimes moving one flower an inch completely changes the whole thing.
And if you’re planning ahead for a wedding, you can shop my reusable flower presses, wedding flower preservation supplies, and arched glass frames here.
Press plenty of flowers, because you’ll want options when you get to this point. But when it’s time to actually make the frame, don’t feel like you have to use all of them.
Usually the piece gets better when you know when to stop.