If your wedding bouquet is sitting in a vase right now and you’re suddenly realizing you meant to do something with it, don’t panic. You don’t have to start pulling flowers apart at midnight after your wedding.
Get the stems back into clean water, keep the bouquet somewhere cool and out of direct sunlight, and deal with it as soon as you reasonably can. I wouldn’t leave it for a week, but waiting until the next morning is not going to ruin everything either.
The sooner you start, the more options you’ll have. Once petals start bruising, edges begin browning, or flowers get soft, there isn’t really a way to undo that in the press. You can still save plenty of a bouquet that has started to age, but you’ll probably be picking through it instead of preserving every flower.
The other thing to know before you start is that you probably aren’t going to press your bouquet exactly as it looks now. Some flowers can go into a press almost whole. Others really need to come apart first.
Take Pictures Before You Touch Anything
Before I take apart a bouquet, I would photograph it from a few different angles. Nothing fancy. Take a picture straight on, one from each side, and a couple close-ups of areas you especially like.
You’ll be glad you have them later.
Once the flowers are pressed, you’re going to have a pile of individual flowers, petals, leaves and stems in front of you. If you want your finished frame to have some of the same feeling as the bouquet, having a picture nearby makes arranging it much easier.
Then I would start taking the bouquet apart.
Remove the ribbon and anything holding the stems together, separate out the greenery, and look at the flowers individually. This is a good time to get rid of anything that’s already too damaged to be useful. A bruised outer rose petal can come off. A leaf that’s already turning brown doesn’t need to be saved just because it happened to be in the bouquet.
You’re not trying to preserve every single stem. You’re trying to preserve enough good material to make something beautiful afterward.
Some Flowers Are Really Easy
The little filler flowers and greenery in wedding bouquets are often some of the easiest things to work with.
Baby’s breath does well when it’s cut into smaller sprigs. Individual hydrangea florets are usually fairly easy once you pull them off the larger cluster. Delphinium can be separated into individual flowers. Ferns, small leaves and delicate greenery generally press well too.
These are usually the things I would put into the press with the least amount of fuss. Trim off bulky stems, arrange them how you want them to dry, and give them some room on the paper.
You don’t need to preserve the long florist stem either. If you know you’re eventually putting the flower into a frame, save the part you actually want to see.
Roses Are a Different Story
A small rose can look like it should press just fine whole. Once you put some pressure on it, it flattens quite a bit, so it’s easy to assume the rest will sort itself out.
The problem is the center.
There are a lot more layers packed in there than it looks like from the outside, and the bases of those petals are much thicker than the edges. The outside can feel dry while the inside is still holding moisture.
I’ve had smaller roses look pretty convincing from the outside and then still be soft closer to the base. That’s where you can get dark areas or petals that dry with that slightly translucent look instead of feeling crisp and papery.
So for roses, I take them apart.
Pull the petals off gently and press them separately. You can keep petals from different parts of the rose together if you want to rebuild some of the shape later.
It feels wrong the first time you do it, especially when it’s a flower from your actual wedding bouquet. But a pile of beautifully pressed rose petals is much more useful than one whole rose that browned in the middle.
Peonies, Ranunculus and Other Full Flowers
Peonies are an easy decision for me. They come apart.
There are simply too many petals and too much bulk to bother trying to press one whole. The good news is that the petals themselves can be gorgeous once they’re pressed, especially those big outer petals.
Ranunculus can be trickier because they’re smaller and look like they should be manageable, but they still have a lot of tightly packed petals. I would take most of those apart too rather than trying to make the whole flower behave.
With any flower you’re unsure about, turn it over and look at the back. Sometimes the part making a flower difficult isn’t even the petals. It’s a thick base or stem underneath. If there’s obvious bulk you don’t need, trim it down before you press the flower.
I’ve found it’s much easier to decide what to remove before everything is half dry and fragile.
Get the Flowers Into the Press While They Still Look Good
Once you’ve taken the bouquet apart, I wouldn’t leave all the flowers sitting on the table for half the day.
Work through them, trim what you need to trim, and start getting them onto the blotting paper.
If the stems have been sitting in water, make sure the flowers aren’t actually wet when they go in. I’ll blot off any obvious moisture and make sure there aren’t droplets tucked between leaves or petals.
This is also your chance to fix the way the flower is sitting.
A petal folded underneath itself now is probably still going to be folded underneath itself when it’s dry. Move things around while they’re still soft enough to cooperate.
I use tweezers for the smaller flowers and petals because trying to position something tiny with your fingers gets annoying very quickly.
How I Layer the Press
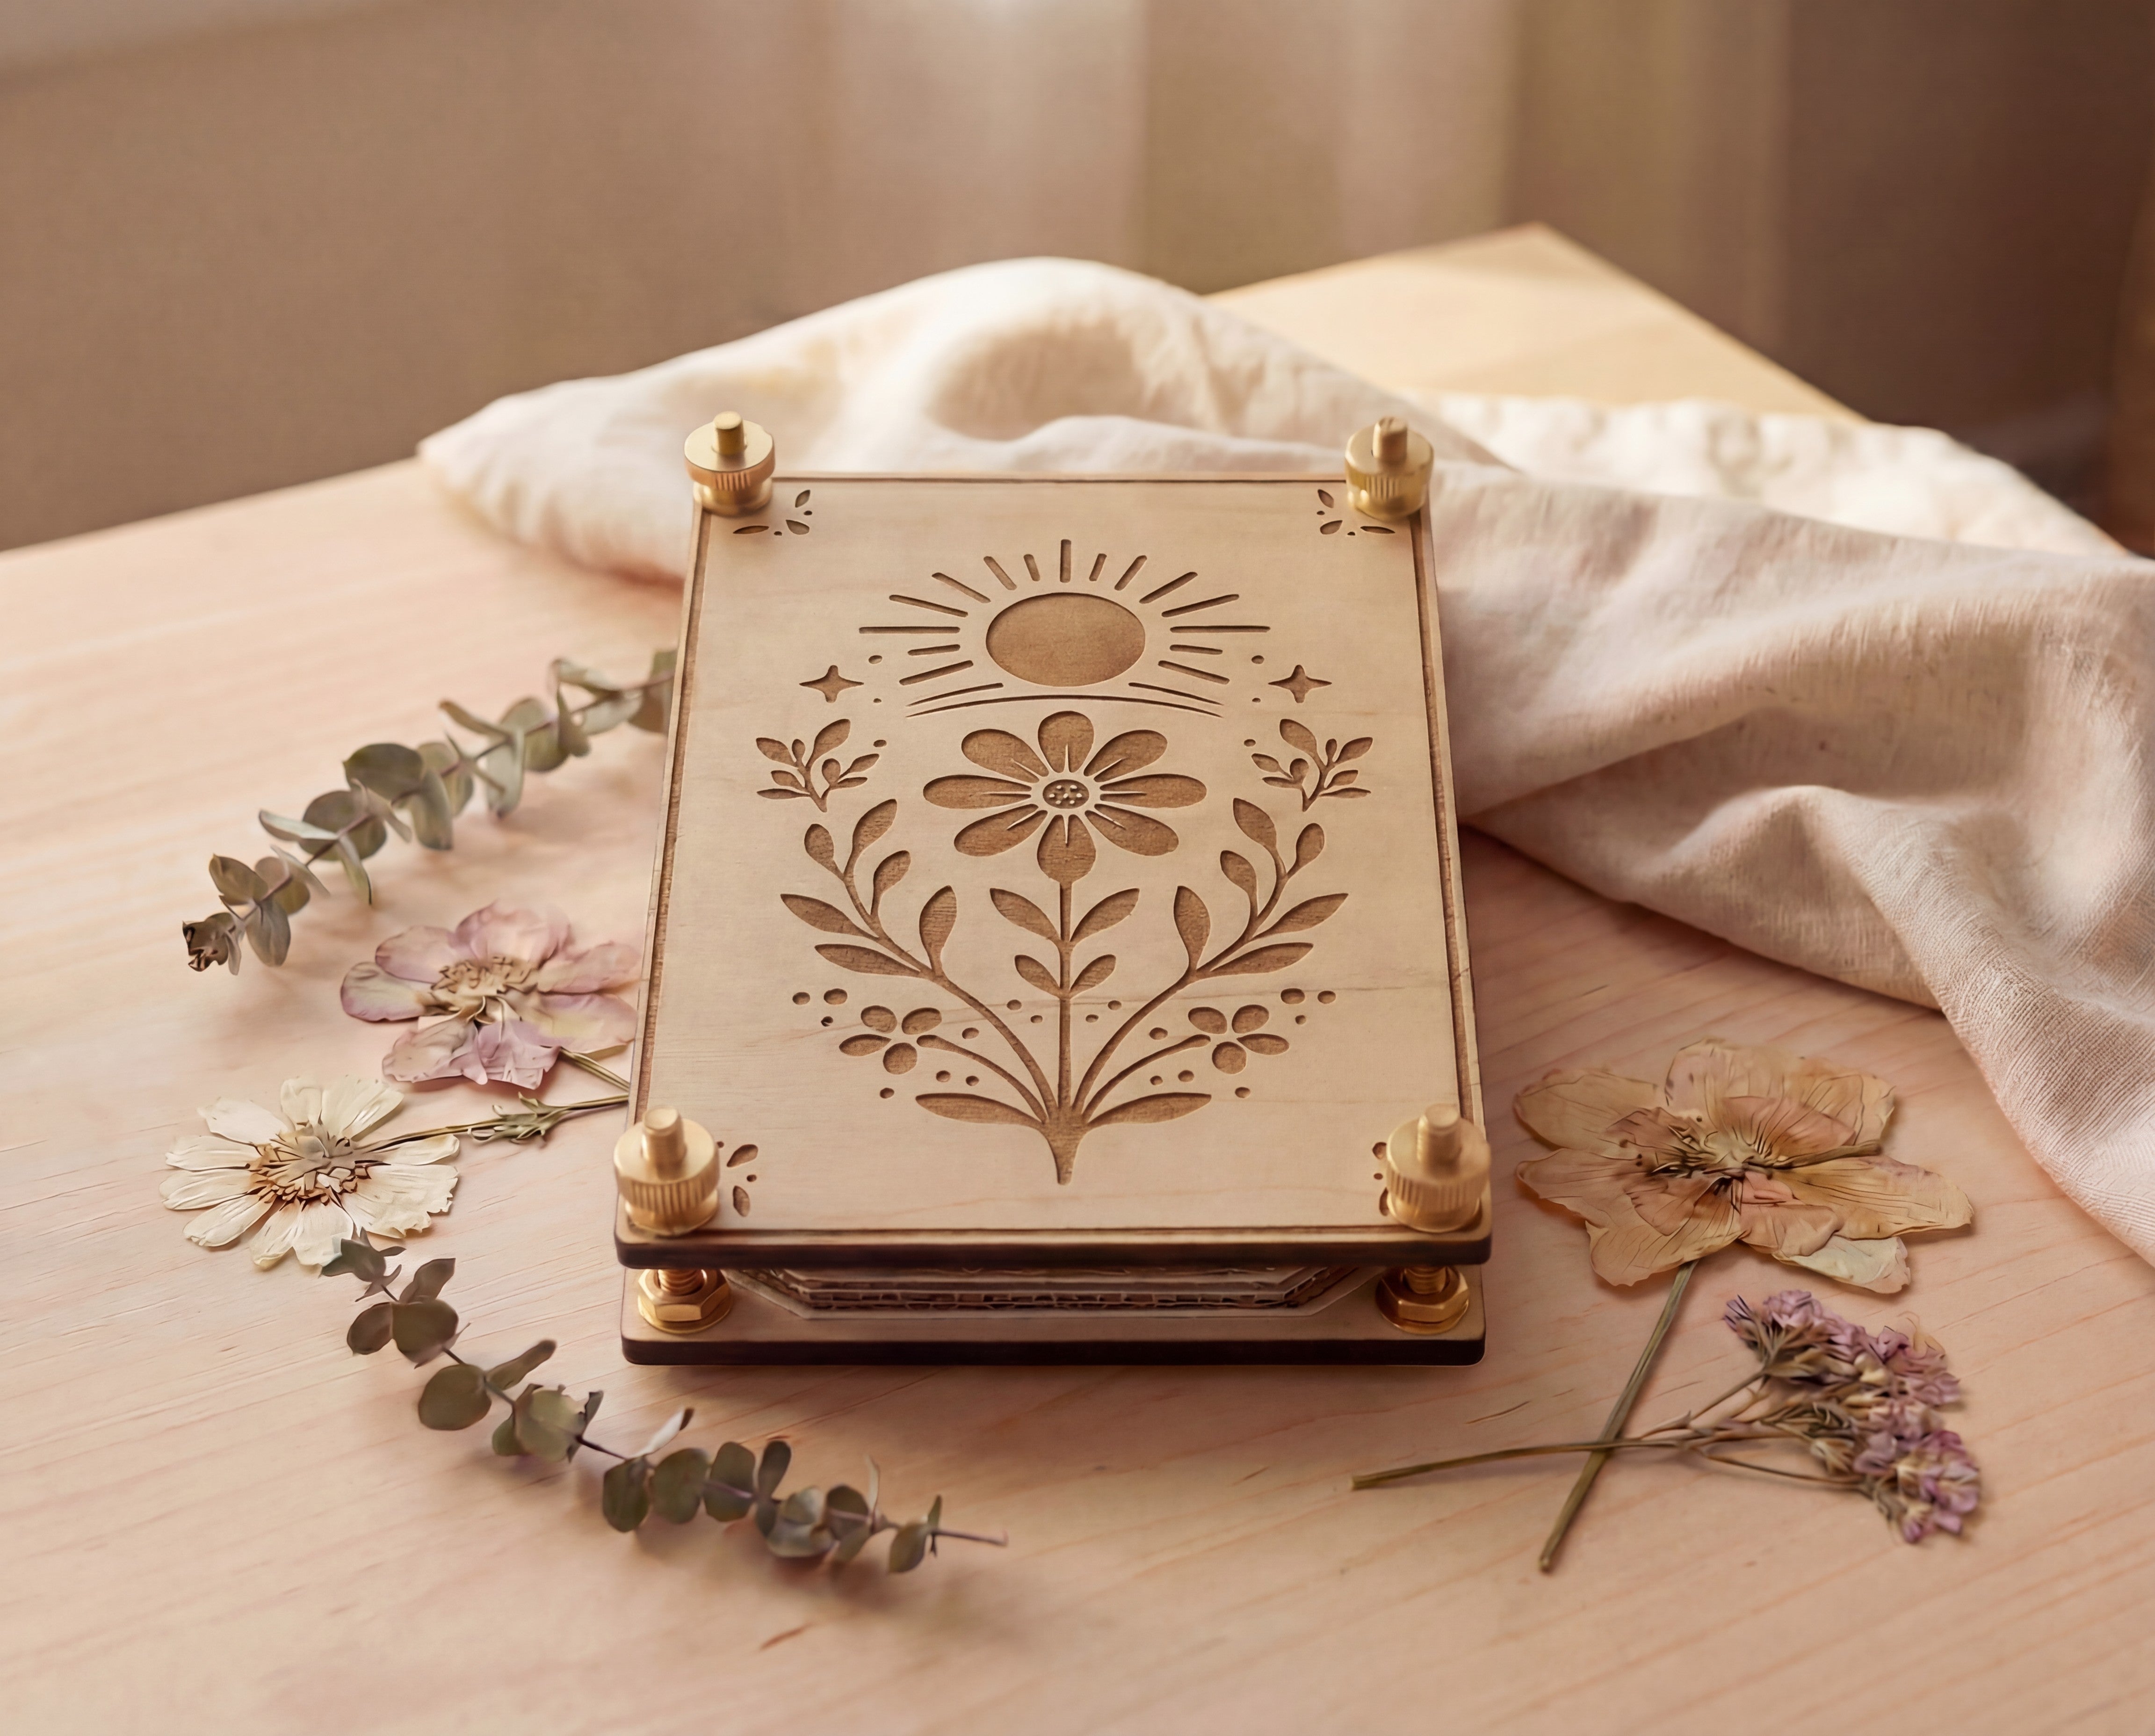
The setup itself is simple. I use cardboard, then blotting paper, the flowers, another sheet of blotting paper, and another piece of cardboard. Then I repeat that for the next layer.
The blotting paper absorbs moisture from the flowers. The press keeps everything flat. The cardboard helps separate the layers and keeps the stack from becoming one giant compressed pile of wet flowers.
This is why I prefer a traditional press with removable layers. If I have a bunch of wedding flowers to get through, I can spread them out instead of trying to squeeze everything onto two sheets of paper.
These are the reusable maple flower presses I make and use if you need one for your bouquet.
And really, don’t crowd the paper. I know you’re probably looking at an entire bridal bouquet and thinking there is no way all of this is fitting into one press.
It might not.
It’s better to use another layer or another press than to stack petals on top of each other and trap moisture between them.
Tighten It, but Don’t Go Crazy
Once everything is stacked, I tighten the press gradually by working around the corners. I don’t crank one side completely tight and then move to the next one.
You want even pressure across the whole thing.
It should be nice and snug. You do not need to tighten it until you’re worried about snapping a bolt. Pressure keeps the flowers flat, but it does not dry them faster.
That part is mostly time and moisture removal.
How Long Should Wedding Flowers Stay in the Press?
Two to four weeks is a good general range, but wedding bouquets usually have so many different kinds of flowers that I wouldn’t expect everything to finish on the same day.
Baby’s breath might be completely dry while a rose petal still has some softness near the base. A little hydrangea floret and a thick piece of greenery aren’t going to behave the same way either.
I also notice a difference depending on the weather. I’m in the Pacific Northwest, so there are times when everything just dries more slowly because the air is damp.
When I check flowers, I don’t go by the calendar alone. I touch the thickest part.
A finished flower should feel dry and papery all the way through. If there’s any spot that still feels cool, soft or a little flexible in that fresh-plant way, I leave it longer.
With wedding flowers especially, I would rather give them an extra few days than pull them out early. You only have one batch of these.
Should You Change the Blotting Paper?
You don’t necessarily need to.
If I’m pressing thin flowers and the paper still feels dry, I leave everything alone. Every time you open the press, you have another chance to shift something.
If the blotting paper feels damp, though, I’ll replace it with dry paper. That’s more likely with flowers that were especially fresh or had thicker petals.
Be careful doing this. Partially dried petals can stick to the paper in a way fresh petals don’t. Lift things slowly instead of peeling the paper back quickly.
If something is sticking, don’t yank it. Use tweezers or work around it gently.
Expect the Colors to Change a Little
Your flowers probably will not come out exactly the same color they were on your wedding day.
White flowers commonly dry more cream or ivory. Pink can get dustier. Deep reds can get significantly darker. Some purples hold their color beautifully and some don’t.
That’s normal.
There are definitely things that can make discoloration worse, especially too much moisture, but natural flowers also just change as they dry.
I think it helps to know that going in because otherwise it’s easy to open your press and think you did something wrong because your blush-pink flower isn’t the exact same blush pink anymore.
It’s still your flower.
You Probably Don’t Need the Entire Bouquet
This is especially important if you have a large bouquet.
You can make a really beautiful keepsake without using every flower that was in it.
A few rose petals, some hydrangea, a little baby’s breath and one or two pieces of greenery may be plenty for a smaller frame. If you’re making something larger, obviously you can use more.
I would pay more attention to which flowers actually mattered to you than to making sure every variety is represented.
If there was one particular flower you loved, save more of that. If your florist tucked in something from your mom’s garden, make sure that goes into the press. If one random little flower has a story attached to it, save it even if it isn’t the prettiest thing in the bouquet.
Those are usually the pieces that matter later.
What to Do Once Everything Is Dry
Once the flowers are completely dry, keep them flat and protected until you’re ready to make something with them.
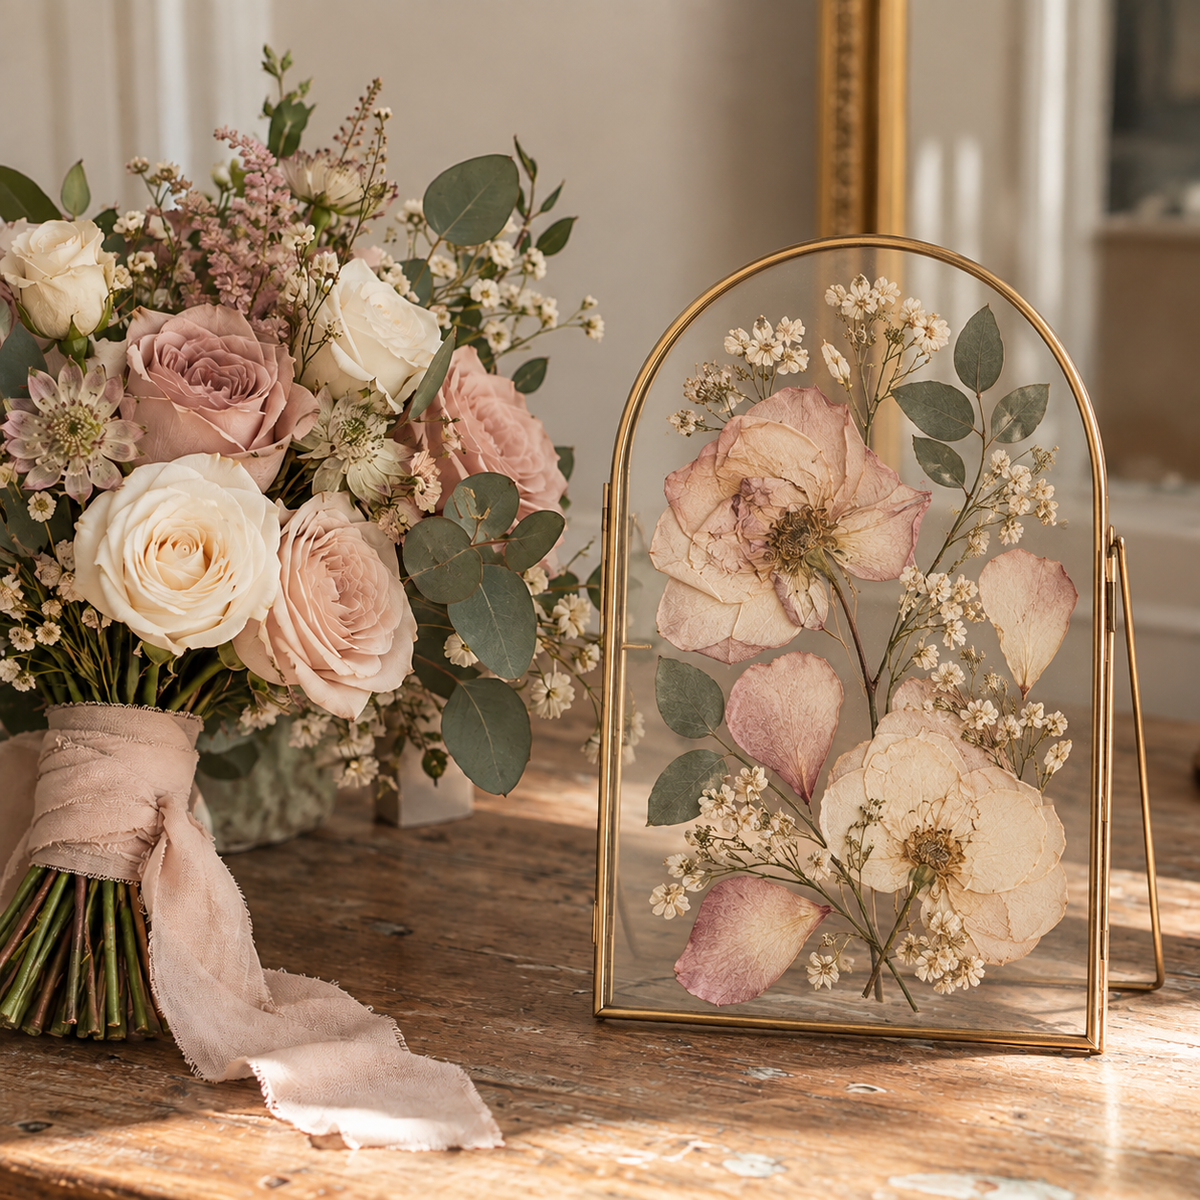
I like having the original bouquet pictures nearby when I start laying things out. I don’t try to recreate the bouquet exactly. That can actually look a little strange once everything is flat.
Instead, I’ll usually pull some of the same shapes and colors from the original arrangement. Maybe the bouquet had a large rose on one side and greenery sweeping out the other direction. You can borrow that balance without trying to copy every stem.
This is also where all those individual rose and peony petals become useful. You can layer a few of them together to suggest the flower again without putting a thick three-dimensional bloom inside the frame.
Lay everything out before you commit to the arrangement. Move things around. Take a picture with your phone if you get a layout you like and then need to move flowers to work on it.
There is no prize for arranging it perfectly on the first try.
If Your Bouquet Is Already Starting to Wilt
Start now.
Go through it and find the pieces that still look good. Remove bruised or browning petals. Some flowers may be too far gone, but others may still be completely usable once you clean them up.
You may also find that the outside of a flower looks rough but the petals underneath are still beautiful. Roses are especially good for this. Removing the damaged outer petals can reveal perfectly usable ones underneath.
Don’t decide the whole bouquet is ruined because a few flowers look tired.
Save what you can.
It Doesn’t Have to Look Exactly Like Your Bouquet
I think this is probably the biggest expectation to let go of when you preserve wedding flowers yourself.
Your finished pressed-flower piece is not going to look exactly like the bouquet you carried down the aisle, and I don’t really think it should.
The bouquet was fresh, dimensional and made to be held. The finished piece is flat and dried and meant to live on your wall.
You’re preserving pieces of it, not freezing it in place.
And years from now, you’re probably not going to care that the white hydrangea dried a little cream or that the rose had to be taken apart.
You’re going to know exactly what those flowers are.
If You Want to Preserve Your Bouquet Yourself
You can shop my reusable maple flower presses and wedding flower preservation supplies here. They’re made for this kind of traditional pressing, with removable blotting and cardboard layers so you can spread a bouquet out and replace the paper as the flowers dry.
If your wedding is still coming up, I would actually get your press beforehand instead of waiting until after. The day after your wedding is not when you want to discover that you need supplies shipped to you.
And if your bouquet is already sitting on the counter while you read this, take a few pictures of it first.
Then start taking it apart.